

Hey there, fellow DIY enthusiast! So, you’ve got this vision of a beautiful DIY wooden fence gate in your mind – one that serves its functional purpose and adds a personality to your property. Well, buckle up because we’re about to embark on a detailed journey into the world of crafting a simple yet robust wooden fence gate. Get ready for a step-by-step guide with all the nitty-gritty details to ensure your DIY project is not just a success but an enjoyable adventure.
Let’s Get Started with Tools and Materials
Before jumping into the sawdust, let’s ensure we’ve got all our tools and materials lined up. For this DIY wooden fence gate project, you’ll need:
Materials:
- Wood planks: Opt for pressure-treated wood for enhanced durability.
- Galvanized screws or nails: These provide the strength your gate needs.
- Hinges: Essential for smooth swinging action.
- Latch or lock mechanism: Who doesn’t value a bit of privacy?
- Wood stain or paint: Optional but recommended for a stylish finish.
Tools:
- Measuring tape: Precision is key.
- Carpenter’s square: Ensures those angles are just right.
- Circular saw or handsaw: Your choice for making those crucial cuts.
- Power drill: A handy tool for efficient assembly.
- Screwdriver: For securing components.
- Hammer: A classic tool that never goes out of style.
- Sandpaper: To achieve that polished finish.
Now, with our toolkit ready, let the crafting commence!
Step 1: Measure and Plan
Okay, let’s not rush into things. The success of your gate lies in the details, starting with accurate measurements. Here’s what you need to do:
- Measure the width of your gate opening. You want it to swing freely, so ensure there’s enough clearance.
- Consider the desired height of the gate. Think about both privacy needs and aesthetic preferences.
- Sketch a rough plan incorporating these measurements. A simple rectangular design is an excellent starting point for a beginner.
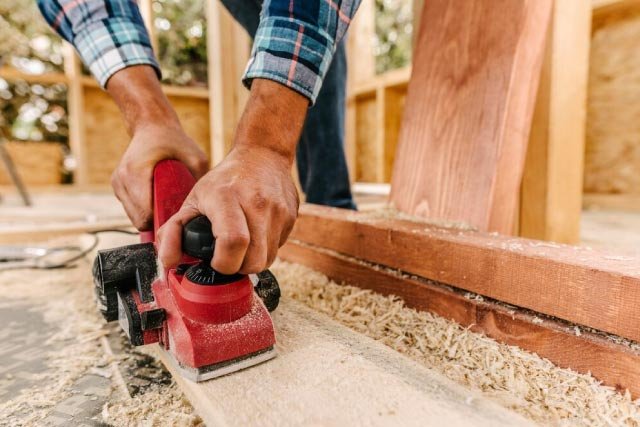
Step 2: Cut the Wood
With your measurements and design plan, it’s time to shape the raw material – the wood planks. Here’s how you do it:
- Use a circular saw or handsaw to cut the wood into precise lengths.
- You’ll need horizontal rails for the top, bottom, and potentially the middle, along with vertical slats to fill in the gaps.
- Straight and precise cuts are crucial for achieving a professional finish.
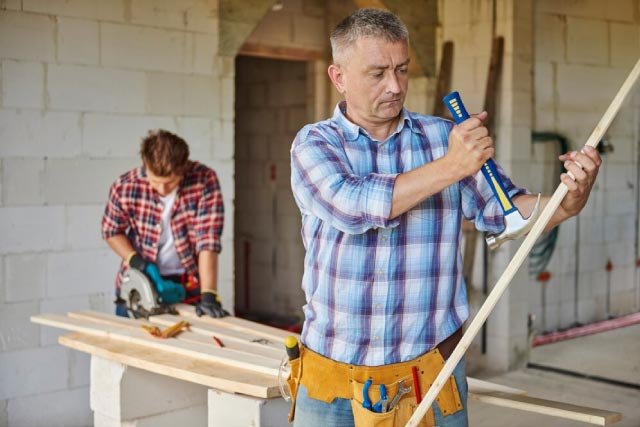
Step 3: Assemble the Frame
Now comes the assembly phase. This is where your gate starts to take shape. Follow these steps:
- Lay the horizontal rails on a flat surface, ensuring they align parallel.
- Insert the vertical slats evenly between the rails, maintaining harmonious spacing based on your design and privacy preferences.
- Use a carpenter’s square to verify that the corners are perfectly square – a small detail that makes a significant difference.
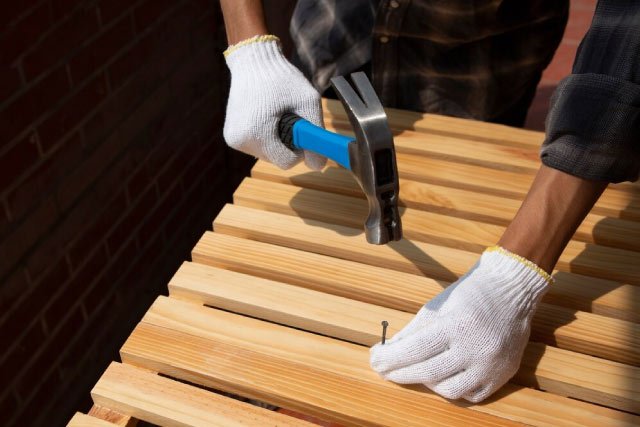
- Pre-drill holes and secure the components together using galvanized screws or nails. This forms the fundamental frame of your gate.
Step 4: Attach Hinges and Hardware
Let’s make this gate a part of your fence. Here’s what you need to do:
- Position your gate against the fence, ensuring it’s level and upright.
- Attach the hinges to one side of the gate frame, ensuring they align correctly and securely anchor to the gate and the adjacent fence post or structure.
- On the opposite side, install the latch or lock mechanism, ensuring smooth operation and a secure closure.
- Test the functionality to make sure everything swings and clicks as it should.
Step 5: Finishing Touches
Your gate is assembled and installed – kudos! Now, for the optional but highly satisfying step – finishing touches. Here’s how to add that extra flair:
- Consider applying a wood stain or paint. This enhances the aesthetic appeal and provides additional protection against the elements.
- Choose a finish suitable for exterior use with adequate weather resistance.
- Before applying the finish, lightly sand the surface of the gate to smooth out any rough spots.
- Follow the manufacturer’s instructions for an even application, allowing sufficient drying time before reattaching the hardware.
Additional Considerations
While the basic steps have been covered, explore additional considerations for a successful project. These aspects contribute not just to the gate’s functionality but also to its longevity and overall appeal.
- Gate Design
Feel free to experiment with designs. Throw in lattice panels, and add some arched tops – make it uniquely yours. The gate is not just a barrier; it’s a statement piece.
- Gate Hardware
Invest in quality hinges and hardware. You want this gate to last, right? Choose hinges rated for outdoor use and capable of carrying the weight of your masterpiece.
- Gate Support
For those larger gates, a little extra support goes a long way. Think diagonal braces or a wheel mechanism to keep things from sagging. It’s all about maintaining structural integrity.
- Maintenance
The longevity of your DIY wooden fence gates is contingent on regular maintenance. Periodically inspect the gate for signs of wear and tear, and reapply stain or paint as needed to protect against weather damage. This proactive approach to maintenance ensures that your gate remains functional and visually appealing for years to come.
Additional Tips for a Smoother Ride
Let’s add a few more nuggets of wisdom to your DIY wooden gate:
- Wood Selection
Go for top-notch wood. Cedar or redwood are your best buddies here; they naturally resist decay and bugs. This choice sets the foundation for your gate’s durability.
- Weather Considerations
Your local climate matters. Adapt your plans – waterproofing, weather-resistant finishes – it’s like giving your gate a tailored suit. Consider the specific weather conditions in your area to ensure your gate stands strong against the elements.
- Seal the Ends
To prevent water from sneaking into the wood, seal those ends with wood glue or a commercial sealer. This extra step in the construction process adds a layer of protection, contributing to the gate’s overall resilience.
- Double-Check Measurements
Measure twice and cut once. This age-old wisdom saves you from those forehead-slapping moments. Take the time to ensure precise measurements, as accuracy in this stage is pivotal for a well-fitted and functional gate.
Conclusion
DIY wooden gate is not just construction; it’s an artistic expression, turning raw materials into a functional, visually pleasing gateway that mirrors your unique style. Beyond the physical construction, it’s a journey into woodworking craftsmanship, offering the satisfaction of seeing a project from concept to completion. As you stand back to admire your creation, it’s more than a gate; it embodies dedication, creativity, and hands-on skills.
So, with a happy building sign-off, relish the accomplishment – your property now boasts a personalized creation that seamlessly blends functionality and aesthetics. As you open and close your handmade gate, appreciate the fusion of utility and artistry, a testament to your ability to shape not just wood but also the spaces and experiences within your home.


